Quickstart
Getting started
This 10–15 minute path takes you from zero to a published, branded docs site.
Before you begin
Account created and signed in
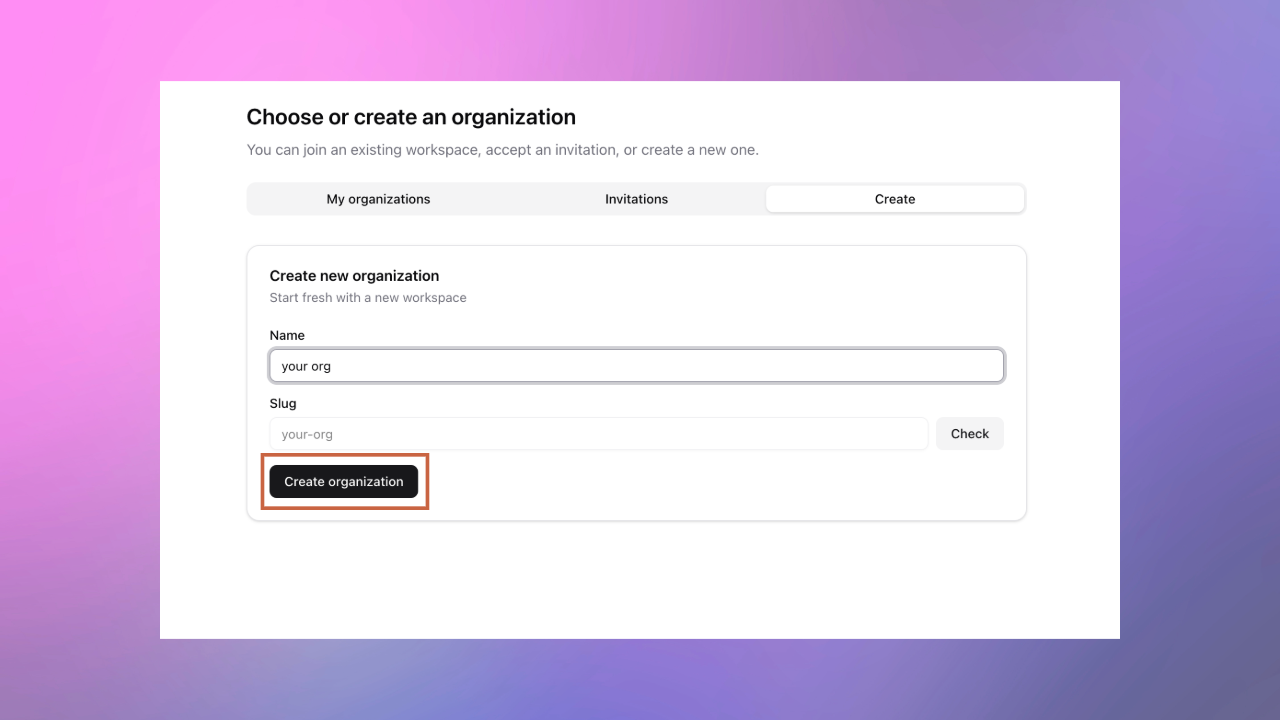
You belong to (or created) an organization
Role permissions: Member can write; Admin/Owner can create sites, publish, and manage domains
Create a space
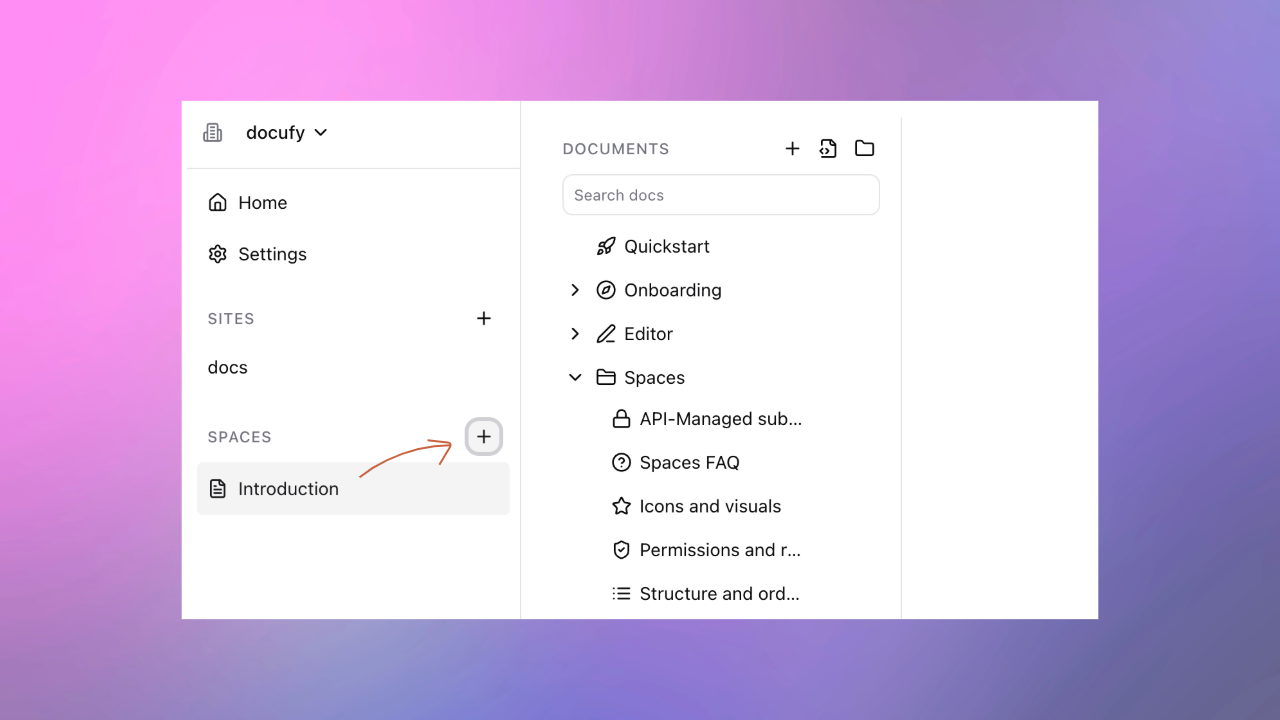
Open the sidebar → Spaces → Create space
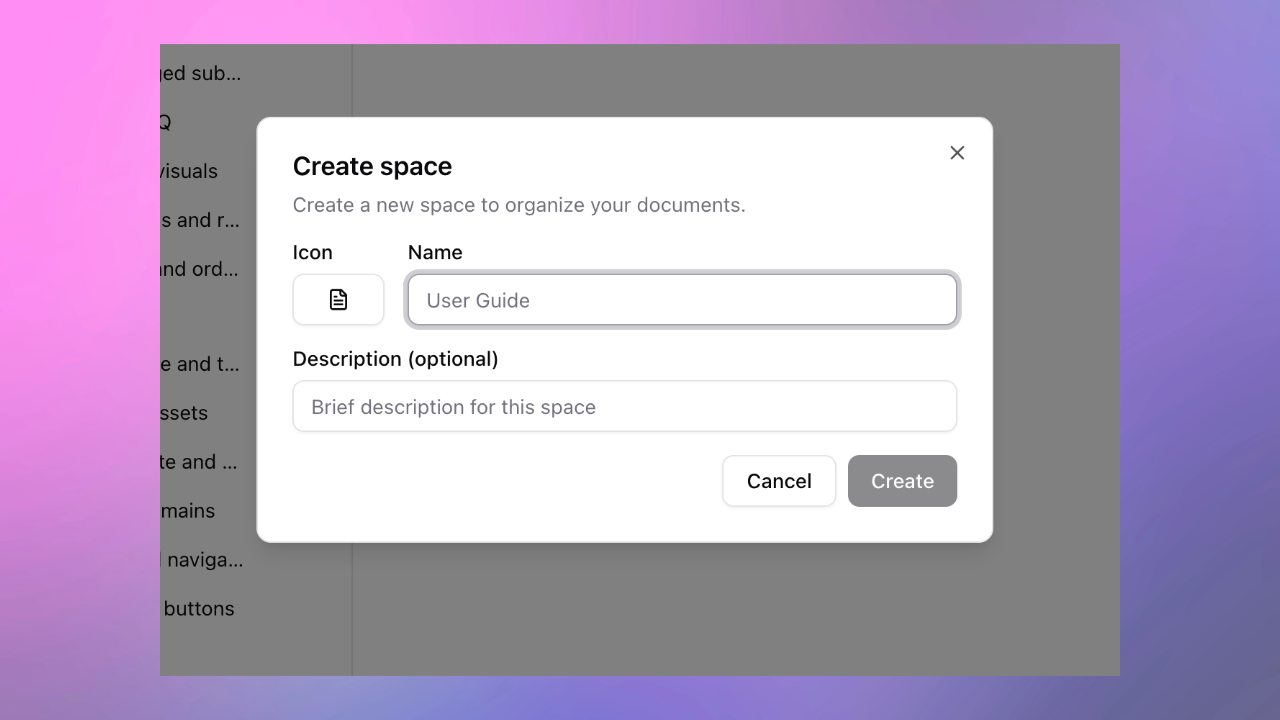
Name it (for example, “User Guide”), optionally pick an icon and description
Add your first page
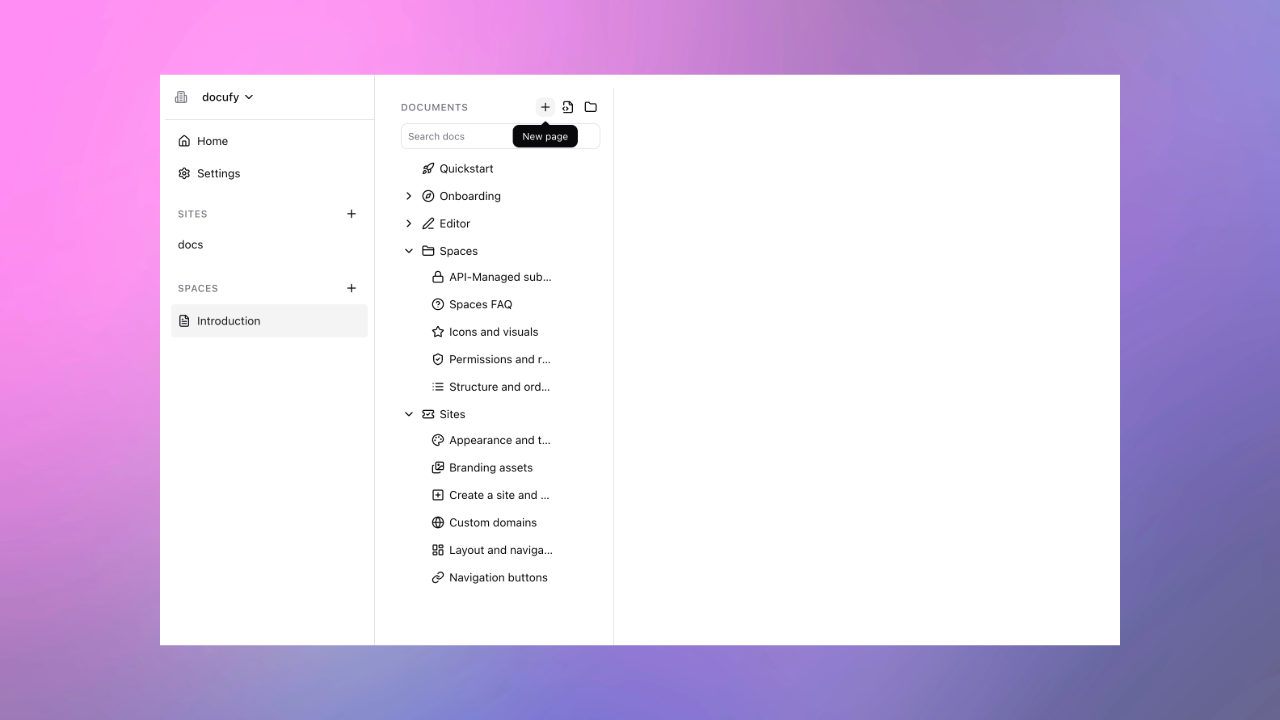
Inside the space, click New page
Type a title, then start writing in the editor
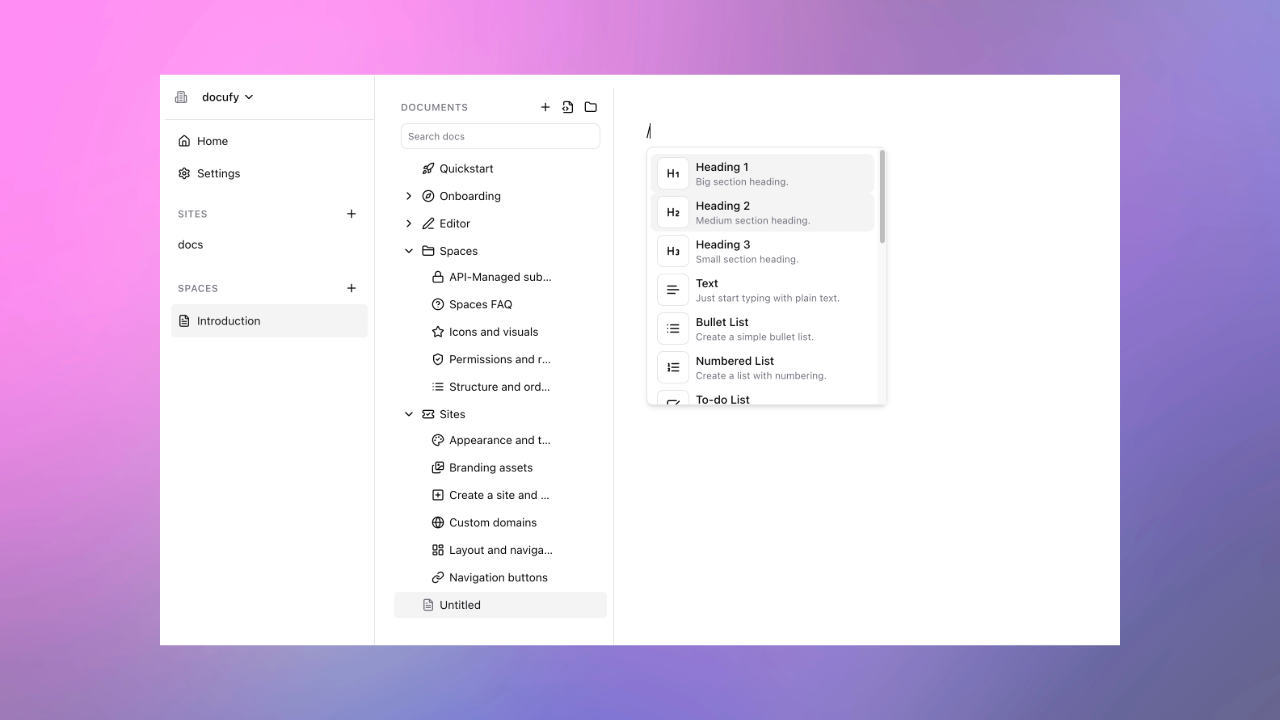
Type
/to open the slash menu for headings, lists, code blocks, tables, tabs, etc.
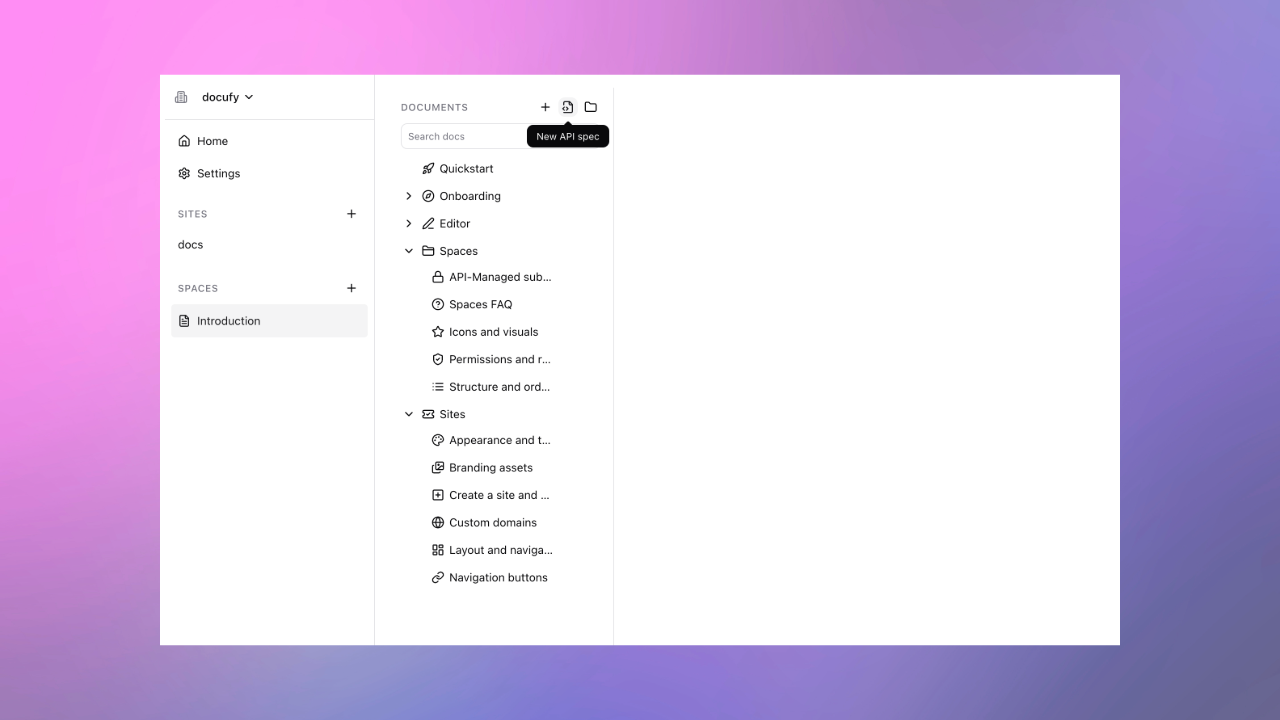
(Optional) Import API reference
Add a document of type “API Spec” (from the space tree actions)
Paste your OpenAPI 3.0/3.1 JSON or YAML and click Upload, then Process
Docufy generates endpoint pages and tag groups under the spec
Create a site and select spaces
Sidebar → Sites → Create site
Name and save; open the site page
In Content, add one or more spaces and order them
Brand and theme
In Appearance, upload light/dark logos and a favicon
Open Theme Studio to adjust brand colors, surfaces, and layout tokens
Publish
Go to Deploys → Publish
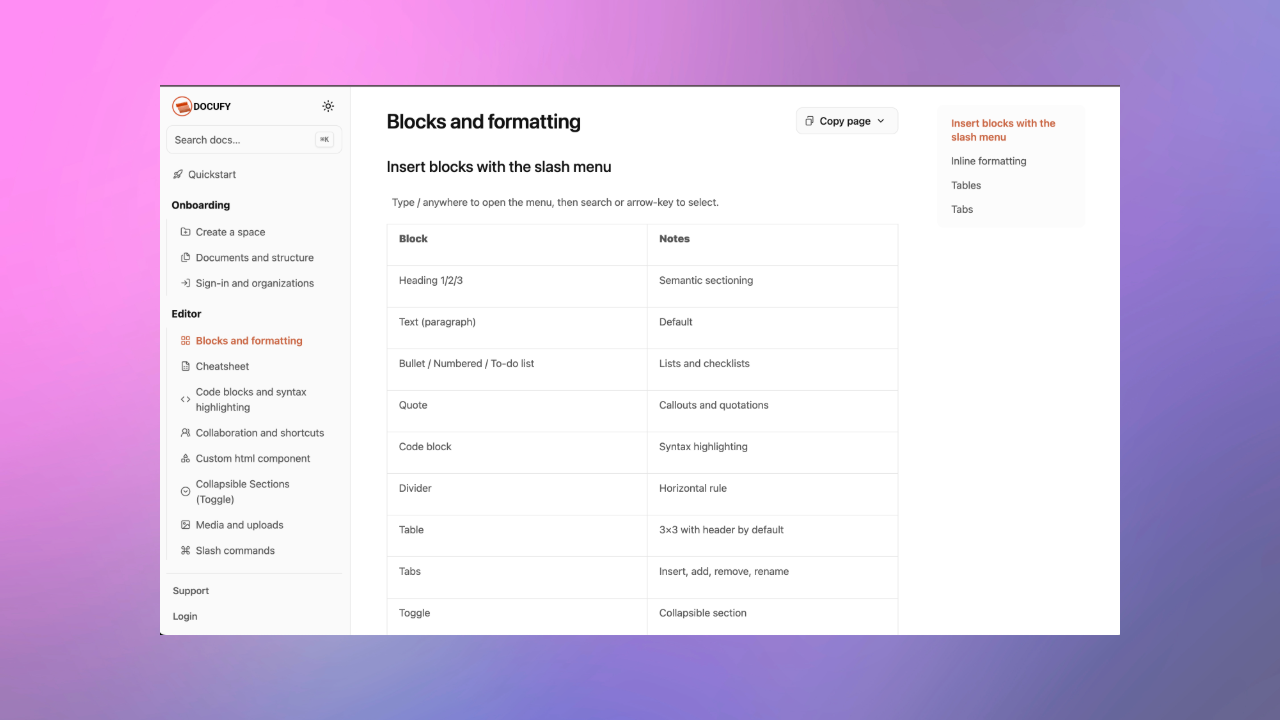
Watch the build progress and then click the primary host link to view your docs
Blazing fast customer facing documentation is ready!
Add a custom domain
Open Domains → Add domain (e.g., docs.example.com)
Follow the DNS instructions shown for your domain type (CNAME for subdomains; A/AAAA for apex)
Click Check now to verify; SSL is issued automatically after DNS propagates
Republish the site after verification is completed

